
Drain the Lake Pro Tips and Fast Progression Guide
This route combines a solo Medium clear by FoltynPlays, a three-player Easy clear by RoBros, and ItzVexo's dedicated mechanics test. The videos show what works during real runs; current badge names and daily success rates are separately checked against Roblox's official API. Follow the route below for a clean first completion, then use the optimization notes for repeat runs and badge farming.
Editorial guide for Drain the Lake by IWTM10GTMPLS. Badge rates and checkpoint names are cross-checked against official Roblox data (last checked 2026-07-15).
Goal
Pro Tips and Fast Progression Route
Difficulty
Easy to Hard
Data checked
2026-07-15
Before you start
Use the checkpoint order as your route: Shipwreck, Cavern, Mineshaft, Molten, Lost City, Abyss, then Phone ending.
Spend Tokens immediately on upgrades that reduce repeated fill and drain time.
Treat Shark encounters as part of the route once you are past the early lake depth.
Step-by-step walkthrough
Follow these steps in order. Each step is written so you can complete it in-game without watching a long video.
- 1
Choose the run for your goal
Pick Easy for the quickest first clear or Diamond/chest farming. Use Medium only after you understand the loop; it awards Overachiever when completed. Use Hard later for Drained & Deranged and Live Bait.
- 2
Separate Tokens from Diamonds
Deposit water to earn Tokens, then spend those Tokens on the run's Skill Tree. Save Diamonds for lobby buckets. Badge claims and chests can add Diamonds, so collect them before shopping.
- 3
Fix capacity and fill speed first
Buy bucket-capacity and water-collection-speed nodes before broad utility upgrades. A larger load raises the value of every trip, while faster filling reduces the longest repeated action.
- 4
Hold the fill input
You do not need to click repeatedly. RoBros' run confirms that holding the input continues filling, which is easier and more consistent than spam-clicking or using an external autoclicker.
- 5
Use Diamonds on a purposeful bucket
Plastic gives +5% fill speed. Metal costs 500 Diamonds and adds two capacity. Magnet costs 1,200 Diamonds, auto-collects Tokens, and adds +10% Token earnings. Buy the effect that removes your current bottleneck.
- 6
Claim chests as the water drops
Scan newly exposed ledges at every depth. Chests provide Diamonds and Tokens, support Lucky Find and later chest badges, and can fund the next bucket without Robux.
- 7
Activate checkpoints and teleport
Step on each checkpoint platform so progress is saved. Use the on-screen surface teleport or the F shortcut shown in ItzVexo's PC run to return to the station instead of swimming or climbing back.
- 8
Treat the Shark as route pressure
Keep moving while filling at deeper layers and return to land when the Shark closes in. One intentional catch earns Shark Bait; repeated bites and Hard-mode survival belong in later badge runs.
- 9
Finish the depth chain
Drain through Shipwreck, Cavern, Mineshaft, Molten, Lost City, and Abyss, then interact with the Phone ending. Current official data shows the Phone ending has a 25.6% daily win rate.
Detailed notes
The fastest normal progression loop
Think in complete cycles rather than individual upgrades: fill, deposit, collect, spend, teleport, and repeat. Capacity increases water moved per cycle; fill speed shortens lake time; auto-collect removes a stop after depositing. An upgrade is valuable only if it reduces one of those repeated costs.
The dedicated tips run prioritizes capacity heavily, while the solo and co-op runs also buy faster draining, richer rewards, movement, and swift scoop as they become cheap. The combined evidence supports a balanced order: capacity and fill speed first, deposit/collection automation next, then inexpensive mobility or reward bonuses.
- Early: capacity and water collection speed
- Mid: instant/rapid drain and Token auto-collection
- Then: Token multipliers and cheap movement nodes
- Late: finish remaining nodes for Fully Trained
Solo versus co-op pacing
RoBros completed an Easy team run in 15:39 with three players contributing water. FoltynPlays' solo Medium run displayed about 27 minutes at the ending even after optional Robux purchases. These are creator run examples, not guaranteed completion times, but they demonstrate the practical advantage of shared draining.
Co-op also exposes more water per minute, which reveals chests and checkpoints sooner. The tips video shows a friend Diamond boost in the lobby, making a reliable partner useful for both speed and bucket progression.
- First clear: Easy with one or more reliable teammates
- Diamond farming: Easy, collect the early chest, then test whether rejoining still resets it
- Badge clear: Medium or Hard only after the route is familiar
Bucket decisions that change the loop
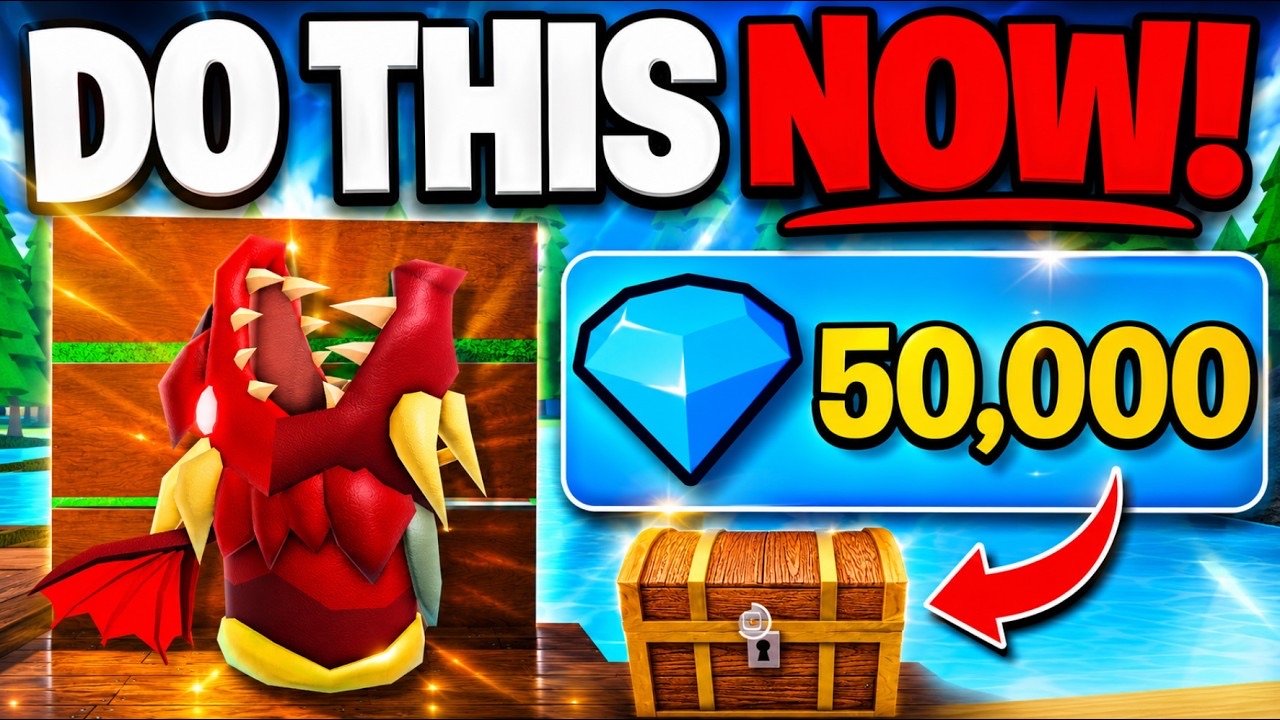
Buckets are a separate progression track bought mainly with Diamonds. Plastic improves fill speed; Metal adds capacity; Magnet adds Token income and removes manual Token pickup. Ancient is claimed after 10 badges. Jewel and Dragon are late or limited economy buckets with +30% Token earnings, while Dragon also has a 20% double-payout chance.
Do not wait for an expensive bucket while leaving cheap Skill Tree nodes unpurchased. Tokens cannot buy normal lobby buckets, and Diamonds do not replace the Token upgrades that make every bucket perform better.
- Plastic: low-cost fill-speed role
- Metal: early capacity role
- Magnet: mid-game farming and convenience
- Ancient: badge progression utility
- Jewel/Dragon: high-end payout effects
Chests, Diamonds, and repeat farming
Chests become reachable as new layers are exposed. Claiming ten awards Lucky Find; the current official badge list extends the grind to 100 and 1,000 chests. Because chests also pay currency, route progression and collection progress reinforce each other.
ItzVexo demonstrates an early Easy-mode method: reach the first chest, claim it, leave, and rejoin to repeat. Treat this as a patch-sensitive farming route rather than a permanent rule. Confirm one reset before committing to a long session.
- Check both the direct path and side ledges after each water drop
- Collect before teleporting so the chest is not forgotten
- Stop using the rejoin loop if the chest no longer resets after an update
What the older badge video does and does not prove
ItzVexo's all-badges video accurately captures the launch progression set, including First Drop, Plunge, checkpoint badges, chest totals, drain totals, Fully Trained, Find My Phone, and Bucket List. It also shows the Diamond rewards attached to those goals at that time.
The game now has 29 official badges. The July Shark and challenge wave added Chew Toy, Live Bait, Slippery, Token Tycoon, Liquid Assets, Deep Pockets, Overachiever, Drained & Deranged, Tourist, Skill Issue, and Hidden Treasure. Use the site's current badge database for the complete list rather than treating the older video as exhaustive.
Pro tips
- ✓Hold the fill input; repeated clicking is unnecessary.
- ✓Use the surface teleport after deep fills instead of spending heavily on walking speed.
- ✓Claim badge rewards before visiting the bucket shop so available Diamonds are accurate.
- ✓Choose Plastic for fill speed or Metal for capacity; do not buy both blindly if Diamonds are scarce.
- ✓Use co-op for the first clear and save solo Medium/Hard for badge attempts.
- ✓Test the early-chest rejoin reset once after every update before using it as a farm.
Common mistakes to avoid
- !Spending Diamonds as if they were Skill Tree Tokens.
- !Buying movement speed while ignoring the free surface teleport.
- !Using an autoclicker when holding the normal input already fills continuously.
- !Paying Robux for the 250L drain before testing normal upgrades and co-op.
- !Following the older 19-badge video as a complete current badge list.
Verification notes
- Primary intent: how-to. This page focuses on one player task instead of mixing unrelated searches.
- Difficulty estimate: Easy to Hard. Use this to decide whether to attempt it now or after more upgrades.
- Updated data stamp: 2026-07-15. Badge names and rates are based on official Roblox data available at that time.
Frequently asked questions
What should I upgrade first in Drain the Lake?
Prioritize bucket capacity and water collection speed, then rapid/instant draining and Token auto-collection. Add cheap movement or reward nodes after the core loop is fast.
How do I return to the surface quickly?
Use the game's surface teleport. On PC, ItzVexo's run shows the F shortcut; follow the on-screen control prompt on other platforms.
Should I buy the 250L Robux drain?
It is optional and poor value for normal progression. The tips video explicitly advises against it, and the solo run still needed upgrades and repeated cycles after buying drains.
Is solo or co-op faster?
Co-op is normally faster because several players contribute to the same lake. A three-player Easy run shown by RoBros finished in 15:39, while a solo Medium creator run displayed about 27 minutes.
Can I farm the first chest by rejoining?
The method worked in the reviewed tips video: claim the early Easy-mode chest, leave, and rejoin. It may be patched, so verify that the chest resets before repeating it.
Sources & update policy
- Roblox — official Drain the Lake experience
- Roblox Badges API — current 29-badge data
- FoltynPlays — solo Medium gameplay run
- RoBros — three-player Easy gameplay run
- ItzVexo — Pro Tips & Tricks
- ItzVexo — launch badge walkthrough
We update this page when the game receives a meaningful patch or when official badge statistics change. Last game data stamp: 2026-07-14. Current version label: Shark Update.
This is an independent fan guide. Not affiliated with Roblox Corporation or IWTM10GTMPLS.
Next steps
First session: hold to fill, use Tokens on capacity and collection speed, use Diamonds on a purposeful bucket, activate checkpoints, claim chests, and leave Hard challenges for later.
Also useful Best Upgrades to Buy FirstBuy capacity and collection speed first, then rapid drain and Token auto-collection. Fully Trained currently has a 25.4% official daily win rate.
Advanced Hard Mode Guide (Drained and Deranged)Medium → Overachiever. Hard → Drained and Deranged. Bring a tuned Skill Tree and respect Shark pressure.